Cake decorating tips
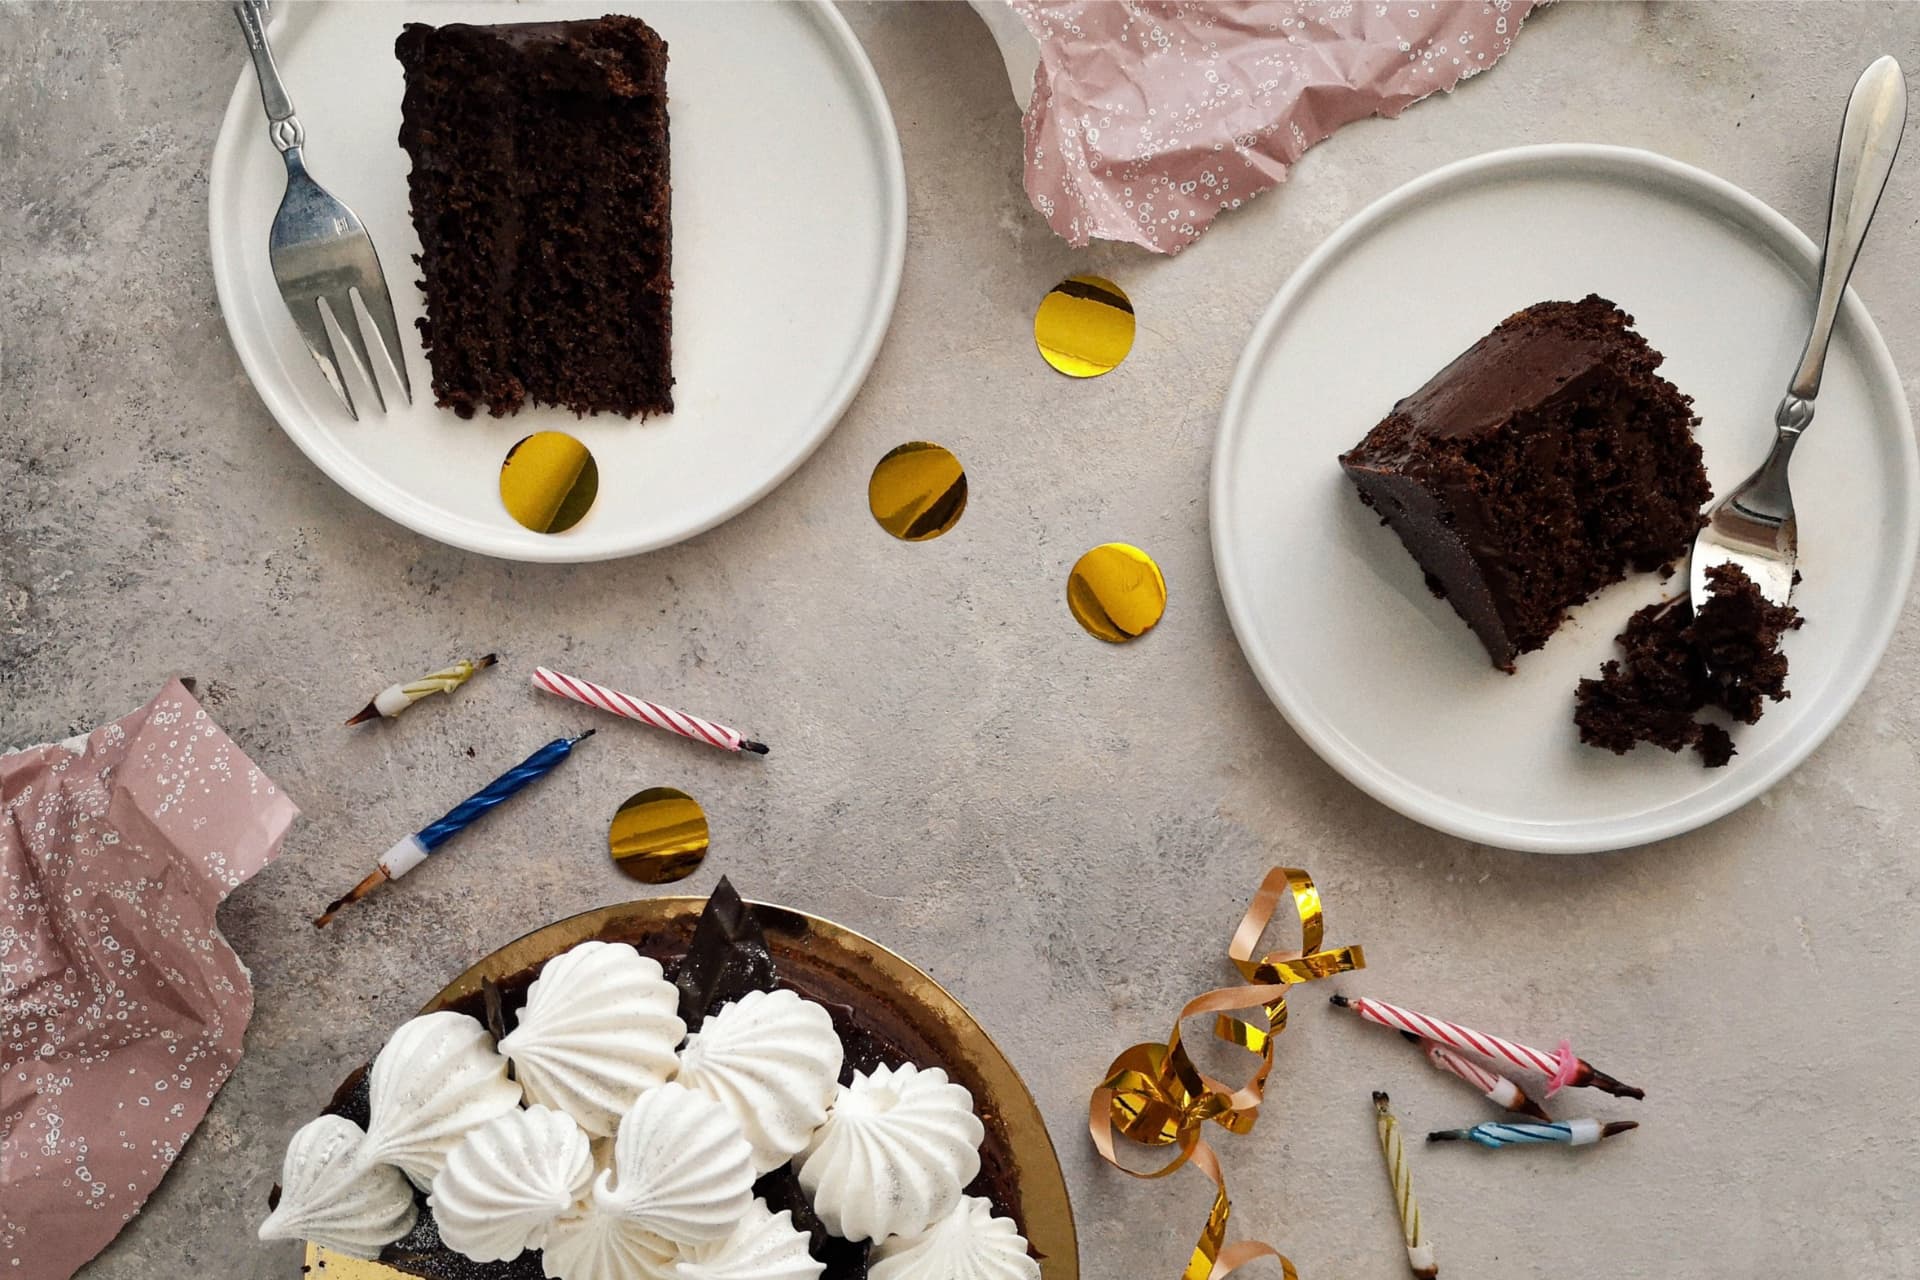
Cake decorating is a fun and rewarding hobby. Not only can you make beautiful, colorful cakes that look like works of art, you can also experiment with different flavors and fillings, and add your own personal touches.
Before you start…
If you’re new to cake decorating, it’s always a good idea to start with a template. These will help make sure that your design is even and symmetrical, which is important for making sure your cake looks professional. Cakes are very round, but if you don’t use some sort of guide when drawing on them, it can be easy for things like letters or numbers to get off-center.
There are several different kinds of templates available:
- A stencil — This works well if you have relatively straight lines in your design; many people like this method because it allows them complete control over the shape and size of their pattern.
- An acrylic ruler — This is great for creating straight lines more quickly than other methods (such as by hand). It also makes it easier for beginners who might want something less fiddly than tracing paper or wax paper cutouts before cutting into their fondant/gum paste/icing sheet with scissors (as opposed to using pencils).
- An embroidery hoop — This method may seem counterintuitive given its intended purpose (keeping fabric from stretching), but by placing an embroidery hoop around either side while working on fondant pieces inside they hold their shape better than just using cookie cutters without anything else added in between them would have done alone! You could also try using another type of frame instead if this doesn’t work out well enough…just remember
Use a grid to mark out your cake
- Apply a ruler to mark out your cake. This will help you to get the right dimensions and make sure it is perfectly square. Be sure to apply a ruler that is exactly the same size as your cake tin, or your measurements won’t be accurate!
- Make sure that the cake recipe you choose is made for the size of pan and recipe you are using. If it isn’t, then the result may not turn out as expected!
- Similarly, if you are using a recipe for a larger size pan than intended, some extra ingredients might be needed in order to fill out all of those empty spaces (like sugar or flour).
Decide what kind of icing you wish to use
You’ve decided to make a cake, and now you’re ready to start decorating. Before you get started with the icing, decide what kind of icing you want to use. There are many different types of icings available for cakes and cupcakes. Some icings tend to be more spreadable than others, so you can easily apply them to your cake or cupcake in many different ways:
- as a base layer on which other decorations will sit
- as a shape guide while piping out designs into the top of your cake or cupcake
- like part of an overall design concept that involves painting swirls onto the surface
Get creative with flavors and fillings
You can also get creative with flavors and fillings. Think of simple fillings like whipped cream, jam or chocolate ganache. Use a variety of flavors like vanilla, chocolate, lemon, raspberry, pineapple and coconut. Also experiment with textures as well; try using cream, buttercream or ganache.
Bake your cake on the right surface
- Utilize a baking sheet. Baking pans are the best choice for cakes, whether they’re round or square. If you don’t have them, use an ovenproof dish that’s large enough to hold your cake and then cover it with a piece of parchment paper, which will help keep the cake from sticking to the pan.
- Utilize a board if the surface you’re putting your cake on is uneven or unstable. For example, if you need to put your decorated cake atop of something like a table at an event where there will be lots of movement and people walking around, then use a board instead of just setting it atop of whatever surface you’ll be serving from (a park bench or picnic table). You could also use one if there is no flat surface available because all other surfaces are occupied by other food items that need to be displayed front and center rather than hidden behind something else!
- Put your board atop of something sturdy so that nothing can fall off onto the floor while transporting it somewhere else (like into another room). You may find yourself using disposable materials like cardboard boxes filled with crumpled-up brown paper bags inside them when transporting cakes because these types ensure stability while keeping things safe at all times! We recommend packing peanuts too since they provide insulation against temperature fluctuations during transportation!
New techniques to try
Don’t be afraid to try new techniques, or have fun with flavors and fillings. Practice makes perfect!
Don’t be afraid to make mistakes, and don’t be afraid to ask for help. When I was a child, my friend’s mom taught me how to decorate cupcakes by making a swirly pattern atop of the frosting using toothpicks dipped in melted white chocolate chips. It was messy and difficult at first but after a few tries I got the hang of it! And now it’s my favorite way of decorating cakes!
In closing
So there you have it: five cool cake decorating tips to help your baking reach the next level. We hope these ideas sparked some inspiration for your next project, and we wish you all the best in perfecting your craft!

